Fat Cat and Mousey
32.75" x 39.5"
As you may have already guessed, this was a FUN project! It is my response to a Fast Friday Fabric Challenge. It is also my February charity quilt.
This started out as a comfort quilt for my guild's stash. Unfortunately I had serious stitch tension problems which required me to apply glue on the back of ALL the stitching so that I didn't have to worry about it coming apart. The glue made the back a bit stiff and scratchy; not much for a comfort. My present idea is to find a place for it as a wall hanging in a hospital children's wing. Someone at my guild mentioned the Barbara Bush Center in Portland, Maine. Too far for me to drive, so I'll try to connect by phone to see if they might be interested. I'll write a follow up, if and when, this happens.
Fat Cat and Mousey side view
The eyes and nose were freezer paper turned applique. I never thought I would ever used this technique which was demonstrated last year at one of my guild meetings. The ears were make using the pillow case technique then attached to the quilt. I did this before I quilted. However, it would be much easier to add them later.
Fat Cat, closeup of face and tail
The whiskers were added after quilting because I wanted them to be really secure. When I sewed the tail seam, I also sewed in two pieces of polyester quilt batting. I wanted the tail to puff out; didn't want to worry about the stuffing shifting. It was a bear to turn inside out, but I do like the effect. I stitched the tail down after quilting; leaving just a short end free. The ruffled collar was created separately then attached to the quilt top.
Mousey
Mousey was created separately from a very simple shape, then stuffed with lots of polyester to keep the nice fat shape. To get the tail to curl, I made a loop and left it for a while. Fat Cat's paws have velcro on the ends for holding Mousey or some other object of a different size and shape. The nose and eyes are heavily stitched.
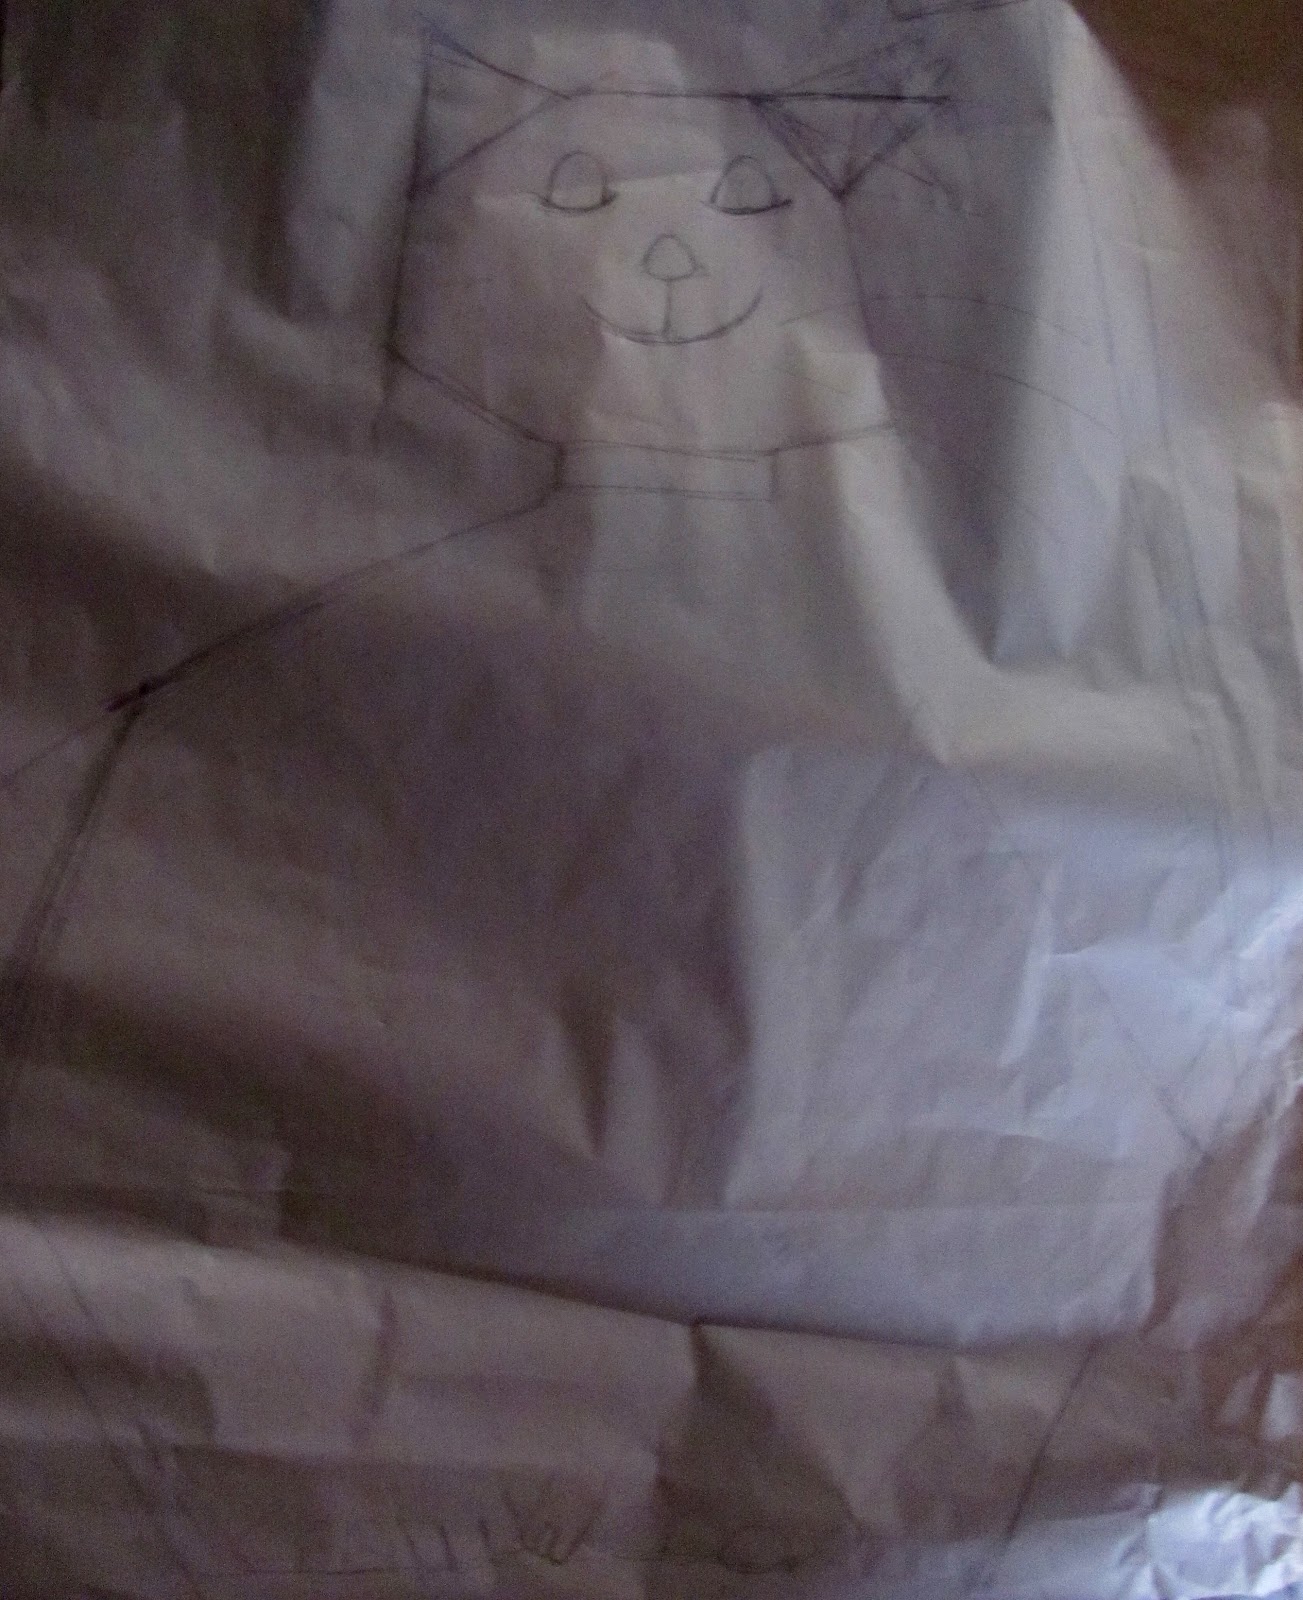
Sketch/Pattern for Fat Cat
I used a large piece of newsprint to sketch what I hoped would be a charming, comical, playful cat that might appeal to a young child. During the construction stage I cut the sketch apart. I marked connection lines where two pieces would join. Then, I cut and sewed; making several changes as I went to ease construction.
I took this quilt to my guild meeting tonight. I was soo disappointed that no one liked it very much. I love it. Hope children will too.